nutrient-dense

Spiced Sweet Potato Wedges + Avocado Superfood Dip

Spiced-sweet-potatoes-featured-image.jpg

There's something about sweet potatoes. Don't you love them? I do! Sweet potatoes are the healthy alternative to regular potatoes because they actually pack a punch of essential vitamins and minerals. They are anti-inflammatory and help balance blood sugar. The words 'yams' and 'sweet potatoes' are often interchangeable. They are actually two different vegetables, but are both great options.

Staying clear of all whites is always best (white breads, flours, sugars, etc.), but there is an exception... Japanese sweet potatoes. They are white-light yellow inside and have a purple skin. These are actually the most nutrient dense of all sweet potatoes. So enjoy your sweet potatoes/yams, especially the Japanese ones!

Spiced Sweet Potato Wedges

Ingredients

2 sweet potatoes, peeled and cut into wedges (I used yam & Japanese sweet potato)

2 Tablespoons melted coconut oil

1 teaspoon chili powder

1 teaspoon cinnamon

1 teaspoon turmeric

Pinch of cayenne

Sea salt and black pepper, to taste

Procedure

  1. Preheat oven to 425 F.
  2. Place sweet potato wedges in an oven safe dish.
  3. Combine coconut oil and spices in a small bowl and drizzle over potatoes. Mix to coat well.
  4. Bake for 25-30 minutes, until tender. Turn broiler on towards the end if you want them crispy.
  5. Serve with avocado superfood dip (recipe below).
Spiced sweet potatoes

Avocado Superfood Dip

Ingredients

1 ripe avocado

2 Tablespoons raw tahini

1 teaspoon spirulina (I use HealthForce brand)

1 teaspoon raw honey

Juice of 1/2 lemon

1/2 cup water, or to desired consistency

Procedure

  1. Place all ingredients in blender and blend until smooth. Garnish with fresh herbs and enjoy.

What's your favorite way to eat sweet potatoes? Share your creations and recipes below or on social media with #apurifiedlife

Healing Bone Broth

bone-broth-2.jpg

Bone broth is incredibly healing. It has been used for years to treat illnesses and speed up recovery and healing. Health benefits of bone broth:

  • Promotes healthy bones
  • Heals and supports gut health and digestion
  • Inhibits infection
  • Reduces joint pain
  • Reduces inflammation
  • Promotes healthy hair and nail growth.

Bone broth can be made with chicken, turkey, duck, lamb, or beef bones. I chose to use beef bone marrow for this one. It doesn't matter what you choose to use, but you must make sure they are organically-raised, pastured or grass-fed animals in order to get the health benefits.

Making bone broth can be a nurturing process if you allow it to be. The more love you put into it, the more healing and nutritious it will be for you and your family. It's a great staple to have at home. And the best part is that you can make huge batches like this one and store in the freezer to have for a few months. This will be your best health supplement. Use it as a base for soups, sauces, or drink it as is.

bone broth 3

Ingredients

3.5-4 pounds organic, grass-fed bones. I used beef bone marrow.

4 Tablespoons unfiltered apple cider vinegar

Filtered water, enough to fill pot

4 large kombu strips

4 Tablespoons dulse flakes

4 large carrots, roughly chopped

4 stalks celery, roughly chopped

1 bunch parsley

1/4 cup goji berries

1 Tablespoon organic ground turmeric or a large chunk of fresh turmeric (peeled)

Procedure:

  1. Place bones and apple cider vinegar in a large stock pot. Fill pot with water and let sit for 30 minutes with the heat off. The acid in the vinegar helps extract the minerals from the bones.
  2. Turn on heat and bring to a simmer, removing scum that rises to the surface for the first hour of cooking. Cover loosely and continue simmering on low for 24-48 hours. The longer, the better. I simmered it for about 28 hours total. You will need to add water along the way to keep bones completely covered.
  3. Add remaining ingredients for the last hour of cooking.
  4. Strain broth and place in air tight containers. Let cool completely before storing in the refrigerator. Broth will keep in the refrigerator for 5 days or in the freezer for a few months.
  5. The next day, there will be a layer of fat on the surface. You can discard this, use it for cooking, or stir it back in - it contains valuable nutrients.

Makes ~20-24 cups 

Don't be afraid to use your choice of herbs, spices, or vegetables to give it your own therapeutic touch.

Happy healing!

Will you be making this therapeutic drink? Let me know in the comments below. 

Cauliflower Mash

Cauliflower-mash-featured-image.jpg

Cauliflower is often an underestimated. It seems like such a plain vegetable, yet it's loaded with nutrients and health benefits. Nutritional Highlights of Cauliflower:

  • High in vitamin C - immune support, cardiovascular support
  • Rich in antioxidant phytonutrients - help lower the risk of developing different types of cancer
  • Vitamin K - highly anti-inflammatory
  • Sulphur - anti-inflammatory, shown to kill cancer stem cells, helps detoxification
  • Vitamin B6 & Choline - two B vitamins important for brain health
  • Fiber - aids digestion


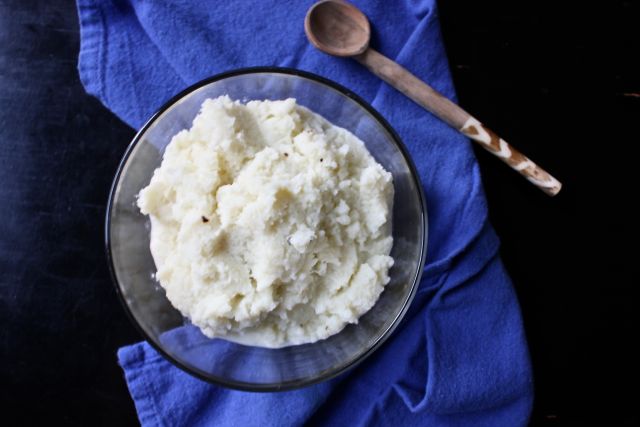
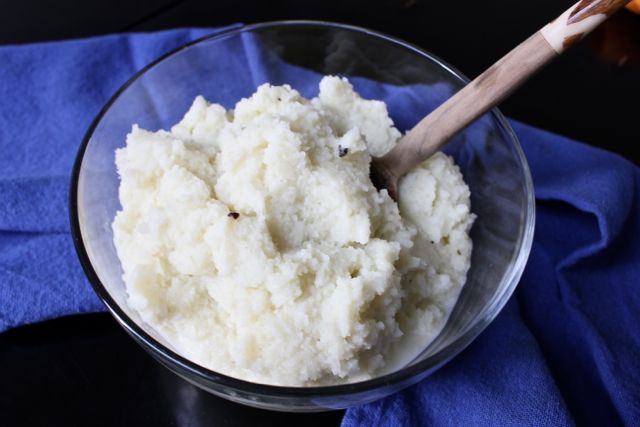
Cauliflower mash


This side dish has been one of my go-to's at home lately. My personal chef clients love it as well. It's comforting and doesn't leave you feeling stuffed. It makes a great dairy-free and low-carb alternative to mashed potatoes, especially for those watching their weight. It even tastes better, in my opinion.

I make a batch at the beginning of the week and then sauté or roast a ton of vegetables to go with it. Great for lunch, dinner, or snack.

Ingredients 

1 Tablespoon extra virgin coconut oil

1 yellow onion, sliced

1 large head cauliflower, chopped

1-2 cloves garlic, mashed

1/4 - 1/2 cup water

1 Tablespoon extra virgin olive oil or coconut oil (melted)

Sea salt and black pepper, to taste

Fresh herbs such as chives, parsley, or cilantro to garnish (optional)

Procedure

  1. Heat coconut oil in a large pan or pot. Add onion and sauté over medium heat until slightly softened, about 3 minutes.
  2. Add chopped cauliflower, garlic, and water (enough water to cover the bottom of the pan). Cover the pot with a tight fitting lid and turn down heat to low. Simmer for 5-10 minutes, stirring occasionally and checking to make sure there is still liquid at the bottom of the pan. If water has evaporates, add a little more. Steam until cauliflower is slightly tender.
  3. Remove from the heat and place in a food processor or high-speed blender. Season with oil, sea salt, and black pepper. Blend until it reaches mashed potato consistency. Taste and adjust seasoning. Mix in herbs at this time if desired, or garnish with them.

Note: If you do not have a food processor or high-speed blender, you may mash cauliflower with a potato masher. Cauliflower might need to be cooked a bit more to make it easier.

Serves 2-4

What's your favorite way to prepare cauliflower?