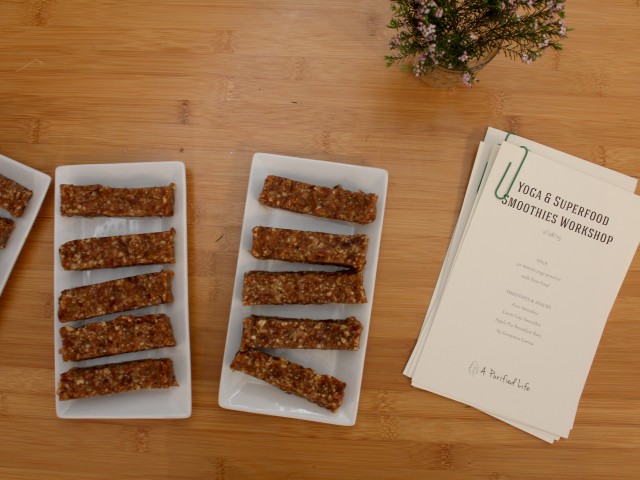
clean eating

12 Tips for Eating Healthy on a Budget

It’s a misconception that eating healthily has to be expensive. In fact, it’s very manageable to have three all-organic healthy and nourishing meals (plus snacks!) each day no matter what your grocery and food budget may be -- I’ve spent a lot of time thinking about this concept and testing out new ways to eat well for cheap. There are ways!

If you don’t know where to start, follow these tips for eating well on a budget:

1. Cook As Many of Your Meals as You Can

This is at once the simplest and the most difficult tip: commit to cooking your meals rather than eating out. Not only does eating out add up quick, but it tends to be less healthy than what you would cook at home. Depending on your habits, you could save roughly $180 - 250 each month by not eating out. How’s that for savings?

2. Plan Your Meals Ahead of Time

Once you’re committed to cooking at home more, try planning your meals for the week ahead of time. Make use of versatile ingredients that you can use in multiple different dishes throughout the week, and stick to simple meals that don’t require too many ingredients. Doing this helps with a few things:

  • You can buy bulk, which saves you on the total cost of items.
  • You’ll have less chance of unused ingredients going bad in your fridge and, as a result, you’ll waste less.

  • You’ll put more thought into what you’re eating and how much you’re spending, which will help you keep to you stick to your good eating and spending habits.

3. Eat What's in Season

This might seem like a no-brainer, but in-season foods are always cheaper than out of season foods, which were likely imported from elsewhere in the world.

So, to save money, focus on foods that are in-season. Learn to love cabbage and citruses in the winter, and go crazy with squashes and root plants in the fall. For a full list of in-season produce and recipe suggestions try Wise Breads’s post on seasonal produce. The Center for Urban Education and Sustainable Agriculture also has a very good, comprehensive chart.

Above all, avoid pricey pre-packaged foods. These foods will not only be pricier but also most likely contain ingredients that are not health-enhancing. Remember to read the ingredient list if you are purchasing packaged foods.

4. Take Advantage of Farmer’s Markets, CSAs, and Imperfect-Looking Vegetables

Some of the best places to find cheap and delicious in-season produce is at your local farmer’s market. Try going at the end of the day and asking for deals to save even more. If you don’t have a farmer's market close to you, try an online farmer’s market such as GrubMarket - they deliver straight to your door!

If you have a CSA in your area, you can also save money while getting ultra-fresh produce (sometimes things you’ve never even seen before!) by ordering from them.

Similar to a CSA is a new produce delivery service, Imperfect Produce, which delivers totally edible -- but “too ugly for supermarket” -- fruits and veggies for super cheap. For example, you could order a 7 - 9 pound box, which will last at least a week, of produce for roughly $12. Awesome!

5. Look for Sales and Take Advantage of Them

For the non-produce staples (and, okay, even some produce) keep an eye out for sales and take advantage of them. Be open to adjusting your weekly meal plan to accommodate a good deal you found at the supermarket or stocking up on dry goods when they go on sale.

Hint: in some supermarkets, if you buy one item that’s on a “2 for $3” sale, you’ll still be able to get it half off. Don’t buy both if you don’t need them.

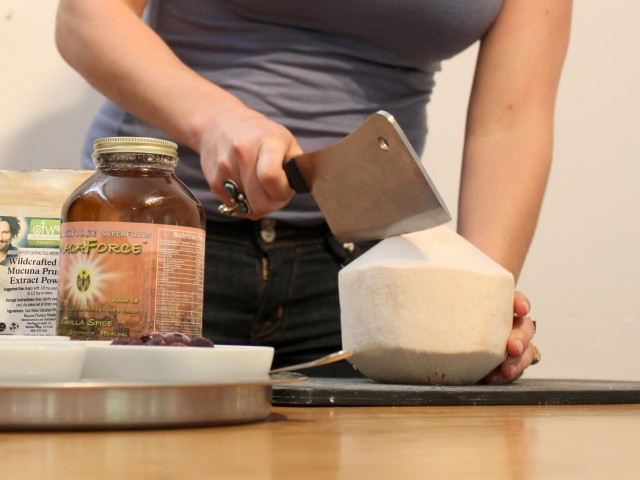
6. Shop at Ethnic Markets

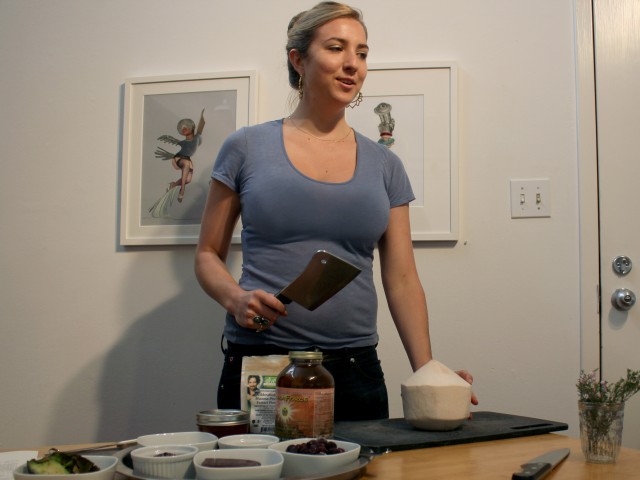
Want a cheap box of coconuts? Go to Chinatown or your nearest ethnic grocery store. Even for some more common items like rice noodles, or a bag of apples, ethnic grocery stores often still have good quality items for cheaper. Keep in mind that organic is ideal.

7. Focus on Plant Foods and Make Fewer Meat-Centric Dishes

I advocate a high plant-focused way of eating in order to get a wide variety of nutrients, but it's also a way to save money if you know how to balance your non-meat meals appropriately.

For those of you who don't want to omit meat entirely (and you don't necessarily need to - your body knows best!), try eating fewer meat-centric dishes. Rather than serving up a steak with a side of broccoli, make meat a compliment, rather than the focus. Cook a quinoa dish with a bit of ground turkey, or a veggie stir fry with some slices of lamb.

8. Start a Garden

Whether you’ve got a yard or a windowsill, starting a garden is the ultimate way to lower your food spending. After all, it’s free (well, almost -- you might still have to make a small upfront investment in seeds, pots, and soil).

Certain things, like arugula or bok choy, are super easy to grow for first timers, whereas others, like tomatoes, require a bit more care and attention. No matter what you grow, gardens are a great way to get a constant supply of nourishing food. Not to mention, there’s no fresher food than what you’re growing outside your front door.

9. Learn to Love Your Freezer

This tip goes back to that whole idea that by letting food go bad, you’re wasting money. Which is why any health-nut on a budget should really learn to love their freezer. There’s two big ways this can help:

First, you can freeze leftovers if you know you won’t be eating them in the next couple of days. Personally, if something’s been in my fridge for 2 days, I’ll either eat it or freeze it to make sure it doesn’t go to waste. Just make sure to mark when you put them in.

Second, if you’ve got a garden, weren’t able to eat all the food you got in your CSA or last week’s grocery store run, you can preserve a lot of fruits and veggies by either canning, pickling, or -- yes -- freezing them.

One of my favorite things to do is to take greens (arugula, parsley, etc.) and turn them into a pesto. Stick them in an ice cube tray and freeze them. That way, you’ll have a stash of homemade pesto you can easily pop on pasta for the rest of the year.

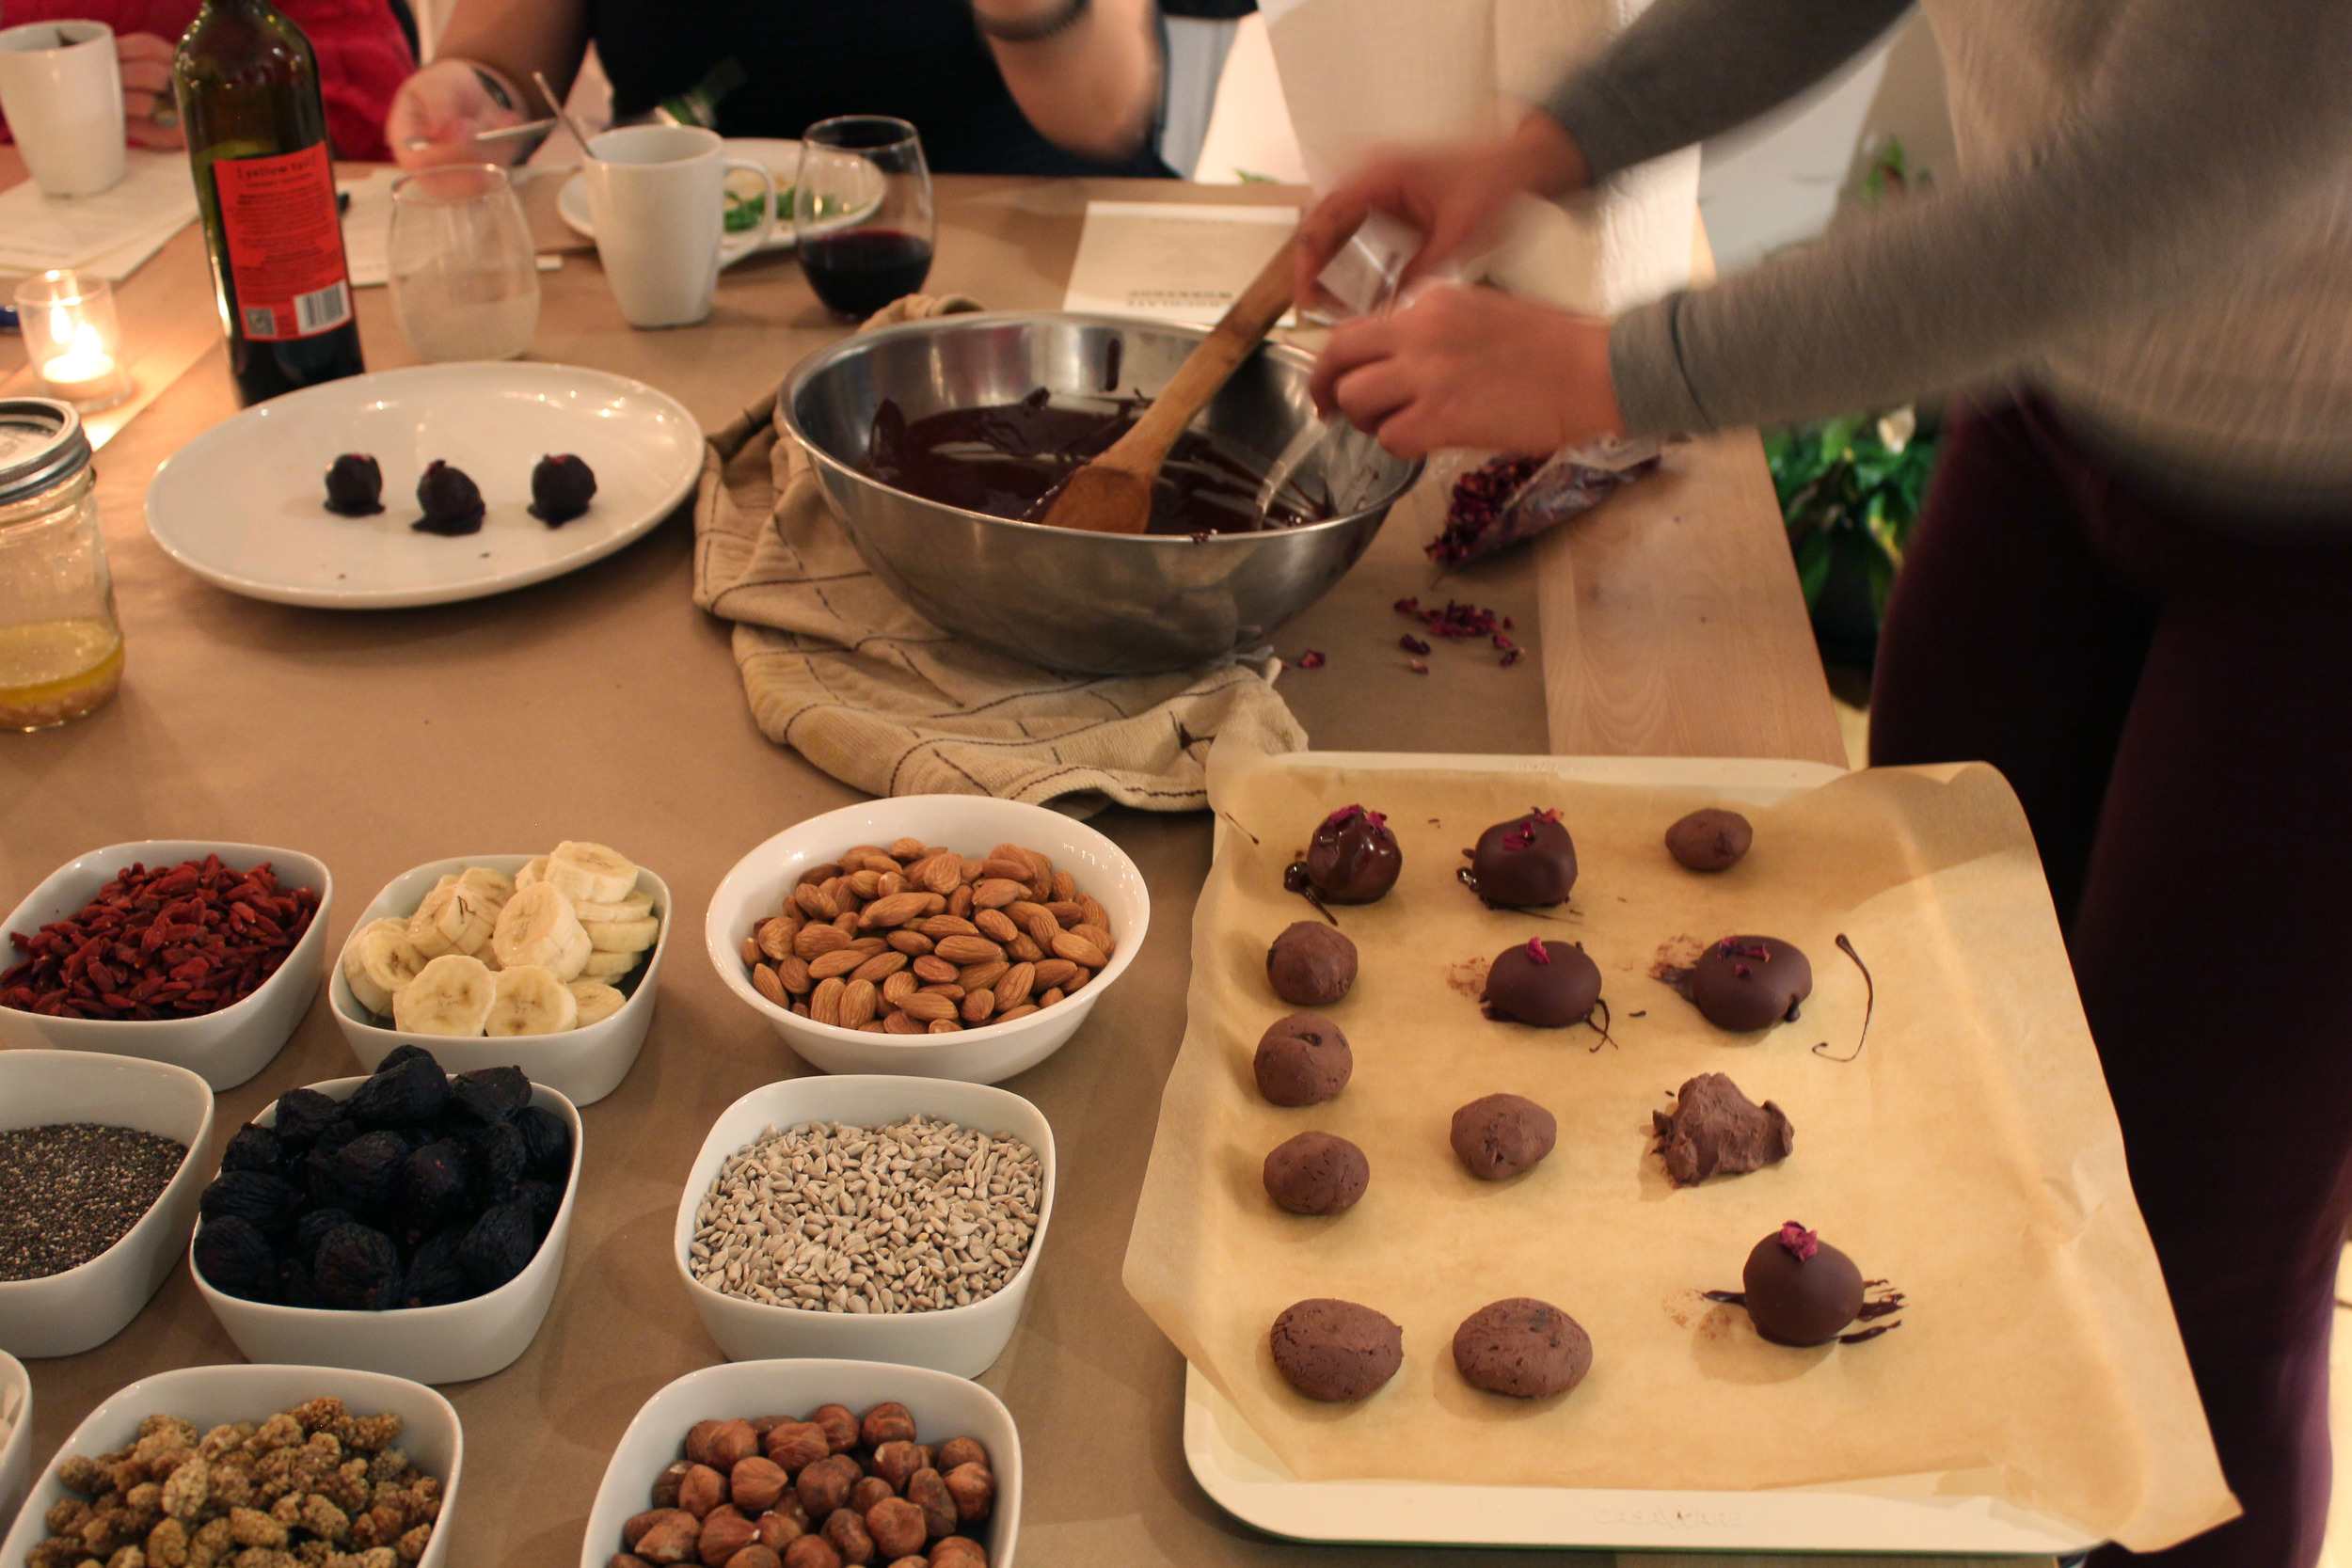
10. Embrace the Health Value of Super Basic Foods

You don’t have to be splurging on obscure and expensive health foods to be healthy. Some of the commonly available foods (brown rice, apples, broccoli, bananas, spinach) are incredibly healthy for you (when organic).

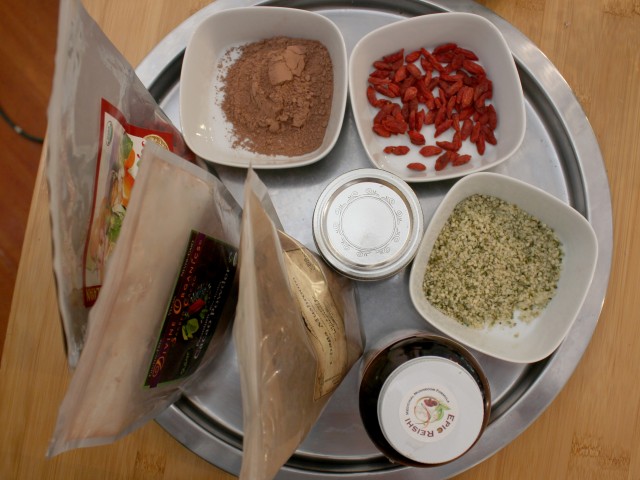
I think that expensive, trendy health foods like chia seeds or acai are part of the reason people assume eating well needs to cost money. Yes, I may be into these more trendy ‘superfoods', but in reality, some of the best stuff for you is downright common and unexotic — you can find amazingly cheap organic produce for less than $1 at the farmer’s market.

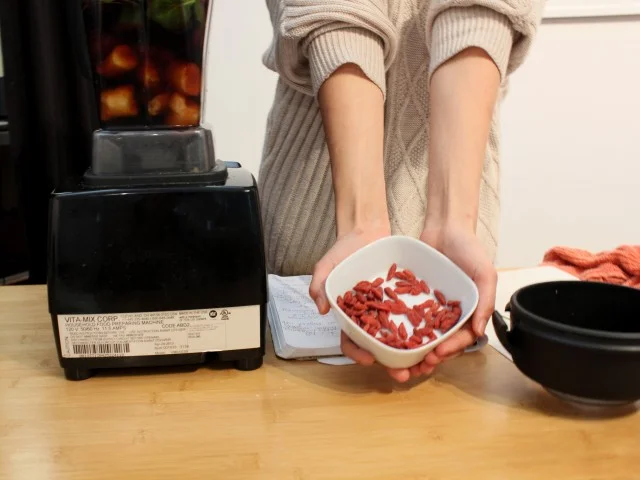
To add to that, these more expensive 'superfoods' can go a long way. You only need small amounts to reap the health benefits of these foods, so you won’t need to be purchasing them all that often.

11. Make Your Own Drinks

Buying beverages can get pricey quick -- not to mention, you might not have any control of the amount of sugar and other ingredients in them or whether or not they’re organic.

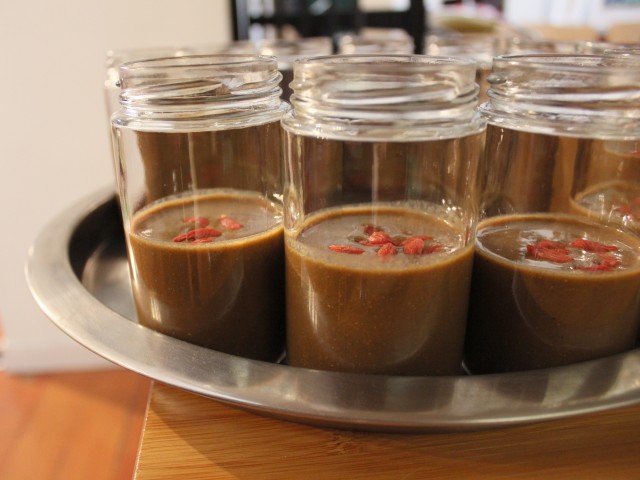
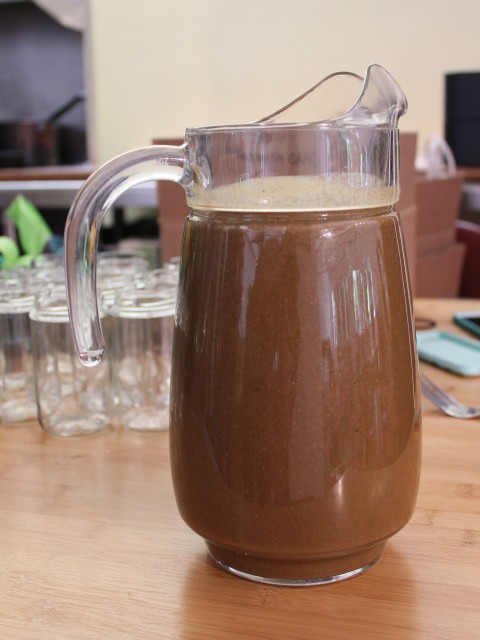
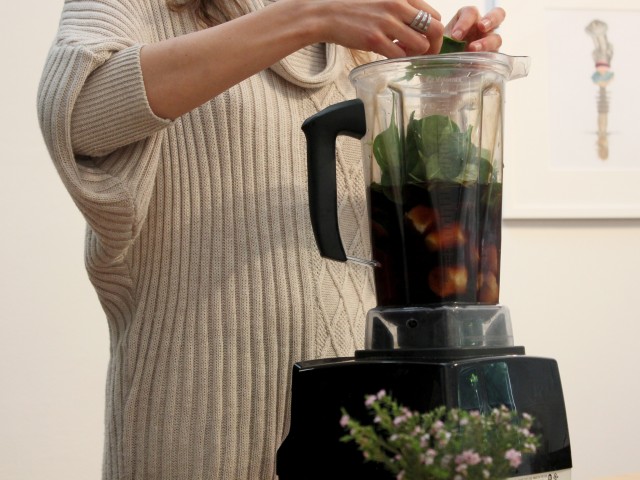
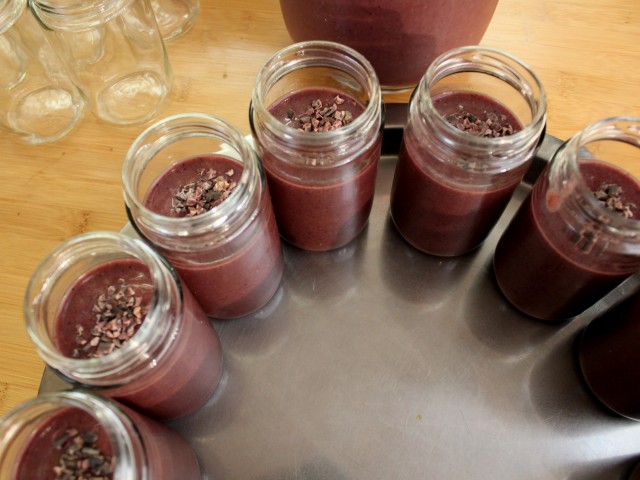
Personally, I prefer getting around this problem by making my own drinks. Especially since frozen organic berries are cheaper than fresh ones, buying a few big bags of organic frozen berries is an easy way to get my berry fix without breaking the bank. Simply toss some in a blender with water (or milk), lemon juice and a bit of honey (optional) and voila!

12. Get Creative with Your Recipes

This might be the best tip I can give you - There are no rules in the kitchen! Did you know you could make chocolate with mushrooms? Well, you can. And if mushrooms can be a core ingredient for one of your favorite dessert foods, then you should absolutely get creative with leeks, turnips, boysenberries, or whatever else is most affordable at the moment in your supermarket/farmers market.

Captures of Yoga & Superfood Smoothies Workshop

What a wonderful weekend. We were so happy to share smoothies and knowledge with everyone at the Yoga & Superfood Smoothies Workshop on Saturday. There was some great Q & A and hopefully everyone is trying out their new recipes this week! We're grateful for Dave Ford's yoga practice, our amazing helper, Maddy Smith, the beautiful well-lit space (aMuse Art Gallery & Meeting Place) in the Mission, and everyone who brought their good energy. It was pretty cool to do yoga in an art gallery. Let us know if you'd like to see a similar event, we'd be happy to host if there's interest - contact Regina at reginafelice@apurifiedlife.com

xx

Captures of Valentine’s Day Chocolate Making Workshop

APLChocoWorkshopFeb144.jpg

There’s no such thing as getting your hands dirty when it comes to chocolate. But if there were, I guess you could say that’s how we spent our Valentine’s Day. At the Chocolate Making Workshop we made rose and fig truffles, chai spiced chocolate mousse, and dark chocolate bark. Everyone got to build their own dark chocolate bark with nuts, seeds, fruit, and superfood powders. There was a lot of love in the air (and in the chocolate) on Saturday! We’re grateful for everyone’s great energy and company.

APLChocoWorkshopFEb143
APLChocoWorkshopFeb145
APLChocoWorkshopFeb146
APLChocoWorkshopFeb147
APLChocoWorkshopFeb148
APLChocoWorkshopFeb149
APLChocoWorkshopFeb1410
APLChocoWorkshopFeb1411
APLChocoWOrkshopFeb1412
APLChocoWorkshopFeb1413
APLChocoWorkshopFeb142
APLChocoWorkshopFeb141
APLChocoWorkshopFeb14

Brunch Club: Farewell Winter Harvest

APL_BrunchClub_Jan17_6.jpg

Change isn’t always easy, but all we can do is embrace it and CELEBRATE it. At Brunch Club we’ll be saying farewell to the winter harvest before welcoming the bright vegetables of spring. Come enjoy a three-course meal and learn about the importance of eating for the seasons. All ingredients are organic, local, vegetarian friendly, and free of gluten and refined sugars. You’ll take home new recipes and connect with some awesome people. Check out photos from January Brunch Club to see what you’re in for.

There’s also an optional yoga practice before brunch (10am). Francesca Gobeille will be starting us off with a gentle, all-levels yoga practice to ease in the day. Visit Francesca's website to learn more about her teaching practice.

Hope this menu makes you ‘MMMMMmmmmmm’ as much as us!

FIRST COURSE

Green Winter Smoothie

A balanced blend of seasonal fruits and vegetables with an added superfood bonus of spirulina, seeds, and raw honey.

Kombucha by House Kombucha

Lavender lemonade House Kombucha.

Grindstone Bakery Gluten-Free Bread with Homemade Almond Butter

Served with sides of fresh bananas and ground cinnamon.

SECOND COURSE

Sweet Potato and Brussels Sprout Scramble (Vegan Option Available)

Organic eggs and vegetables cooked in coconut oil and seasoned with warming spices. Topped with herbs and served with avocado.

Grapefruit pancakes with coconut whipped cream

Coconut flour pancakes with fresh grapefruit zest and cinnamon. Topped with coconut whipped cream, pure maple syrup, and sliced kumquats.

THIRD COURSE

Apple pie breakfast bars

Raw dates, apples, coconut, almonds, cinnamon and sea salt.

Sounds amazing, doesn’t it?! Get your tickets on Feastly. See you on 2/22 .

APL_BrunchClub_Feb22

Coconut-Lavender Pie with Plum Sauce (Raw & Vegan)

coconut-lavender-pie-feature.jpg

This has to be the best raw dessert I've ever made. My sister has attested to it as well. She gets spoiled by me once a year. Actually, most days, but on her birthday she gets to request any dessert she wants. This year, she left it up to me, so I let the summer flavors guide me.

Enter this insanely good Coconut-Lavender Pie with Plum Sauce.

I know you'll love this one also. Every bite is perfect.

Ingredients

Crust

1/4 cup raw hemp seeds

2 1/2 cups fresh medjool dates

1/2 cup unsweetened shredded coconut

1/4 teaspoon sea salt

Coconut-Lavender Filling

4 cups fresh coconut meat or thick coconut cream (To get coconut cream, place canned coconut milk in the refrigerator for about 24 hours. Use the thick layer that separates at top.)

1 cup coconut milk

4 Tablespoons raw honey or grade B maple syrup

1/4 cup coconut oil, melted

2 teaspoons fresh lavender

2 teaspoons vanilla extract (or vanilla powder)

Juice of 1/2 lemon

Pinch of sea salt, to taste

Plum Sauce

2 fresh plums + a few extra to garnish

1 teaspoon raw honey

Note: I used an 11-inch springform pan. You might want to cut the recipe in half if you're using a smaller pan, or you can leave it and have thicker layers. 

coconut lavender pie

Procedure

Crust

  1. Place hemp seeds in food processor and process until ground. Add remaining ingredients and process until well incorporated and mixture holds together when pressed with fingers.
  2. Press mixture evenly onto bottom of a springform pan (I used an 11-inch size pan). You might want to line it with parchment paper so it doesn't stick to the bottom.
  3. Place in the refrigerator while you prepare filling.

Coconut-Lavender Filling

  1. Place all ingredients in a blender and blend until smooth and creamy. Taste and adjust if needed.
  2. Pour over crust and place in the freezer for at least 8 hours, until it has set completely. Store in freezer.

Plum Sauce

  1. Place ingredients in blender and blend until smooth. I chose to leave the skins of the plums on, but you may take them off if you don't want pieces of skin left.

Serve

  1. To serve, remove pie from freezer and let sit out 20-30 minutes before serving for it to thaw out and be the perfect consistency.
  2. Decorate with sliced plums and drizzle with plum sauce.

coconut lavender pie 3

Enjoy and savor every bite!

Xo

Raw Chocolate Macaroons

Chocolate-macaroons-featured-image.jpg

The best things come when you least expect them. I wasn't even thinking or craving chocolate, but these sweet things snook up on me as I was standing in front of my pantry in search for something to do. These raw chocolate macaroons pack a punch of vitamins and minerals and are gluten-free, nut-free, and dairy-free. They're a quick little treat to boost mood and energy. Honestly addicting.

Enjoy!

chocolate macaroons 1

Ingredients

2 cups unsweetened shredded coconut

1/2 cup raw cacao powder

1/2 cup melted coconut oil (measure after you have melted it)

3 Tablespoons coconut nectar (I use Coconut Secret)

1 teaspoon pure vanilla extract

pinch of sea salt

Procedure

  1. Mix all ingredients in a bowl. Tightly pack mixture into a Tablespoon measuring spoon and gently drop it over a plate or baking sheet lined with parchment paper. Repeat with the rest of the batch.
  2. Freeze for 1-2 hours. Let sit for a few minutes out of the freezer before serving, but don't leave out for too long or they will melt.

Makes ~20

These would be better if dehydrated with a dehydrator, but I don't own one. I encourage you to use it if you do.

Tell me, how do you relieve stress? What methods do you use to keep your focus? 


Dairy Alternatives + Cashew Cream Recipe

Cashew-cream-feature-image.jpg

Like most foods, dairy has it's controversies. Is it good or bad? If you Google 'dairy and health' you will find thousands of articles supporting why it's good, and thousands supporting why it's bad. We grew up believing that milk is essential for bone health. Truth is, you don't need milk to be healthy nor to get these important nutrients that you would get from milk - calcium, potassium, and vitamin D. There are various reasons why one might omit dairy from their diet: being vegan, lactose-intolerant, paleo, casein sensitivity. Everyone has their own opinion on dairy, but my advice is: If you're going to have it, make sure it's good quality. Dairy isn't how it used to be anymore. It now comes packed with hormones and antibiotics. Reading the label is crucial when selecting dairy products. Learn what's in it and where it's coming from. Whatever it contains will be ingested into your body.

I personally don't include dairy in my diet because I am lactose intolerant. I may have it every now and then (about once a month), and when I do, I choose organic and local goat or sheep as they are easier to digest.

Aside from being a discomfort for those with lactose intolerance, dairy is acidic and can cause inflammation for anyone. This is why I suggest to consume in moderation, about 1-2 times per week, and get calcium from other nourishing and anti-inflammatory foods.

Non-dairy foods rich in calcium:

  • Sesame seeds (more than milk)
  • Spinach
  • Collard greens
  • Almonds
  • Broccoli
  • Sardines
  • Kale
  • Mustard greens
  • Beet greens
  • Turnip greens

Here are some healthy alternatives to dairy products:

  • Milk: coconut milk, almond milk, cashew milk, hemp milk, oat milk, flax milk - homemade milk is best to avoid preservatives and additives. Recipe for almond milk here.
  • Yogurt: coconut yogurt, chia pudding
  • Butter: coconut oil, ghee (clarified butter - free of dairy)
  • Ice cream: coconut ice cream, rice milk ice cream, blended frozen banana, thick smoothie. Try my vegan chocolate-coconut ice cream, it's delicious.
  • Cheese: cashew cream/cheese, nutritional yeast (sprinkle it on food for a cheesy taste)

One of my favorite dairy alternatives is cashew cream. It's simple to make and so delicious. Cashew cream can be used as a dip, spread, dressing, pasta sauce, pizza sauce/cheese, burger topping, and anything else you can think of.

Cashew cream

Ingredients

1 cup cashews, soaked in filtered water for at least 2 hours

1 clove garlic

1 Tablespoon extra virgin olive oil

1 cup water or vegetable broth (or less for thicker 'cheese')*

juice of 1/2 - 1 lemon

pinch of sea salt and black pepper

Optional flavorings: fresh rosemary, red chili flakes, fresh thyme leaves, dried herbs, nutritional yeast

Procedure

  1. Soak cashews anywhere from 2-4 hours. Drain and rinse.
  2. Place in blender with the rest of the ingredients and blend until smooth.

*The amount of water or broth you use will determine the consistency. Only use about 1/2 cup of water to get a more cheese-like consistency. Play around with liquid measurements and see what you like best.

What's your favorite dairy alternative? Please share in the comment section below. 


Vegan Chocolate-Coconut Ice Cream

Choc-coconut-ice-cream-feature-image.jpg

It's not summer yet, but I'm already craving (and testing) all the amazing treats I want to create on those sunny days to come. My first test was this delicious and ridiculously simple chocolate-coconut ice cream. I always thought of ice cream as something that was impossible to make at home. Even using an ice cream maker seemed like a lot of work for me, and I never felt the need to try to make it at home since ice cream is not usually my go-to treat. Then I visited Bi-Rite Creamery in San Francisco and had their chocolate vegan ice cream and life was different. That ice cream is always worth the 30 minute wait. Since trying Bi-Rite Creamery, I knew I had to come up with my own healthy version to avoid indulging again. And that I did.

I still don't have an ice cream maker, but that is not necessary for this recipe. Making vegan ice cream turned out to be very easy. All I used was a blender and a glass container to freeze the ice cream in. The best part is that I only used 4 ingredients and the ice cream is gluten-free, dairy-free, and refined sugar-free. It couldn't be better if you ask me. It's a perfect guilt-free treat or snack for adults and kids.

Please try this recipe and share below how yours turned out. Feel free to substitute pistachios with any type of nut.

Choc coconut ice cream

Ingredients

1 can coconut milk (make sure to use full-fat, otherwise, ice cream won't be creamy)

3 Tablespoons raw cacao powder

1/4 cup coconut nectar or raw honey

1/4 cup chopped pistachios

pinch of sea salt

Procedure

  1. Place all ingredients in blender and blend until smooth.
  2. Pour in glass container or dish and place in freezer for 6-8 hours, until completely firm.
  3. Serve scoops using ice cream scooper (or eat straight from container, which I may or may not have done)

Enjoy!

Sunflower Seed Butter

Sunflower-butter-featured-image.jpg

A few months ago I discovered that I am sensitive to nuts. I know, I felt like my life was over, especially since I was the almond butter queen. I had it every single day and more than once. Perhaps why the sensitivity flared. I used to often get bloated and gassy after eating nuts but never thought anything of it since it wasn't every time or I just wasn't aware enough to make that connection. It wasn't until I did a thorough elimination diet/detox (similar to my 3-Day Detox Plan) that I realized that indeed nuts where causing stomach bloating and inflammation. So although they're packed with nutrients and have great health benefits, my body does not agree with them anymore. And that's okay because there are so many other foods that I can get those nutrients and snack fix from. It's just a matter of getting creative, there are always alternatives.

So I discovered this delicious and creamy sunflower seed butter. If you already purchase sunflower seed butter, do yourself a favor and make your own at home. It is so much better than the store-bought kind and doesn't contain refined sugars and other unnecessary additives. Always read your labels.

IngredientsSunflower butter

4 cups raw sunflower seeds

2 Tablespoons melted coconut oil

1 teaspoon pure vanilla extract

pinch of sea salt

Procedure

  1. Preheat oven to 350 F.
  2. Place sunflower seeds on baking sheet and toast in oven for 6-10 minutes, until slightly golden. Check at 6 and 8 minutes. It's important to keep an eye on them because they burn easily.
  3. Let cool for 10 minutes and place in food processor. Process for about 7-10 minutes. The seeds will release their oils and go from a flour, to a crumbly, to a creamier consistency. Be patient, it takes time. At this point, with the processor still running, add remaining ingredients and process until it reaches desired creaminess.
  4. Transfer to jar and keep at room temperature or refrigerated for up 2-3 weeks.

Makes ~ 2 cups

Let me know how yours turns out! Share below or tag me in your picture #apurifiedlife